Part I | Part II | Part III | Part IV
This series of posts covers the installation of WeBWork. This post, Part III of the series, has instructions for installing Ubuntu and WeBWork within VirtualBox.
Creating a New Virtual Machine
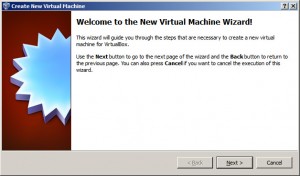
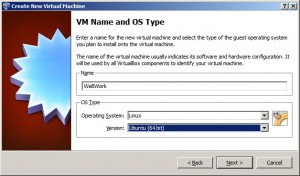
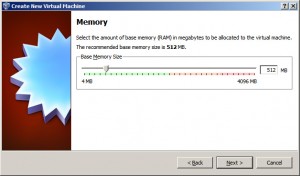
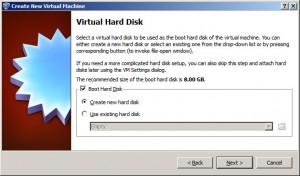
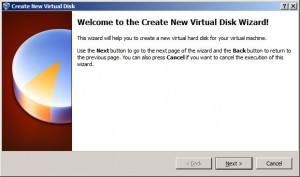
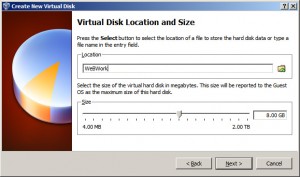
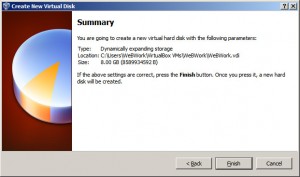
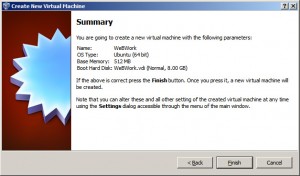
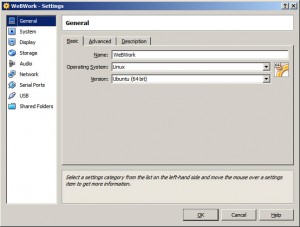
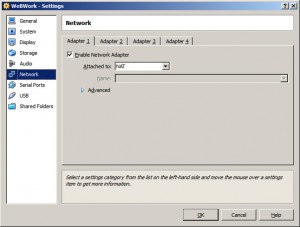
The first step requires the configuration of a new virtual machine in VirtualBox. This new virtual machine will be used to install a copy of Ubuntu with WeBWork. To configure a new virtual machine, you must click New from the VirtualBox Manager. The images below show the progression of steps and my selected settings when configuring a new virtual machine. Please customize these settings according to your preferences and system. For example, if you are using a 32-bit system, please make sure to select Ubuntu (32 bit) when prompted, as opposed to the 64-bit option that I selected.
Downloading the Ubuntu Live DVD
Next, you must download a copy of Ubuntu to install within the new virtual machine. In addition to offering detailed instructions for installing WeBWork from scratch, the WeBWork Wiki also offers a Live DVD that has a pre-configured installation of Ubuntu, WeBWork, and the other applications that are required. This is what will be used to install WeBWork on your system. The ISO image of the Live DVD can be downloaded from the WeBWork Wiki Live DVD website. If you are using a 64-bit system, you can install either the 32-bit or the 64-bit version, but if you are using a 32-bit system, you must use the 32-bit version. The following links can be used to download the most recent ISO files that were available at the time of this post, hosted by the University of Rochester (UR) and the Mathematical Association of America (MAA).
64-Bit
- UR: http://
hosted2.webwork.rochester.edu/ ww-downloads/ WW2.4_Ubuntu10.04_64bit_Vanilla_LiveDVD.iso - MAA: http://
webwork.maa.org/ ww-downloads/ WW2.4_Ubuntu10.04_64bit_Vanilla_LiveDVD.iso
32-Bit
- UR: http://
hosted2.webwork.rochester.edu/ ww-downloads/ WW2.4_Ubuntu9.10_Vanilla_LiveDVD.iso - MAA: http://
webwork.maa.org/ ww-downloads/ WW2.4_Ubuntu9.10_Vanilla_LiveDVD.iso
An ISO image is a file that stores the contents of a CD or DVD. For additional details, please see the corresponding page on Wikipedia. Once you have downloaded the Ubuntu ISO, you can either burn this to a DVD or configure your system to use this image as a virtual DVD, so that you can access the contents of the disc as if it was a real DVD. To burn the image, DVD creation software will often allow you to create a DVD using an ISO image.
Starting a Virtual Machine for the Ubuntu Installation
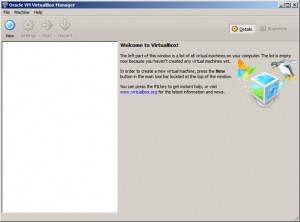
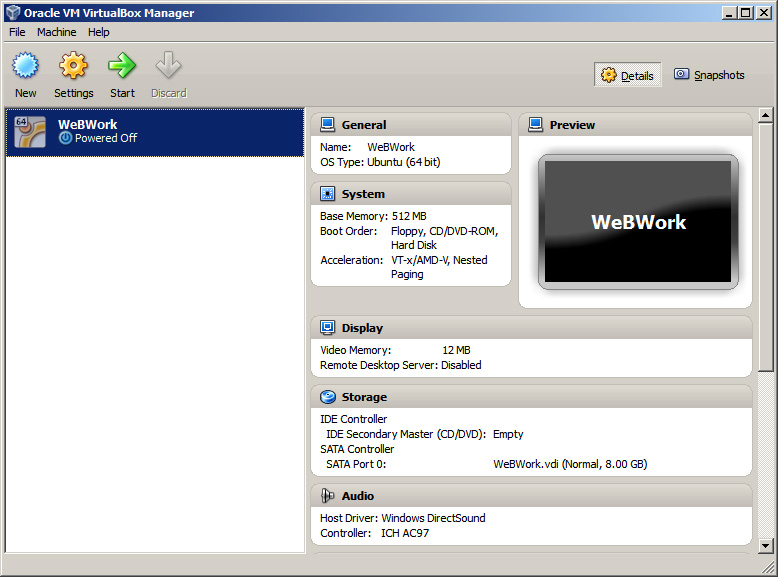
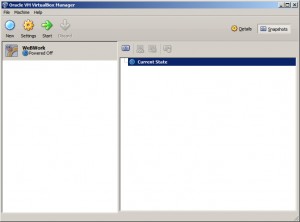
Now that you have a virtual machine configured and a DVD with Ubuntu, it’s time to install Ubuntu. Insert the Ubuntu DVD that you prepared in the last step and open up VirtualBox. Your VirtualBox window should look similar to the image below.
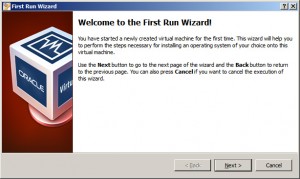
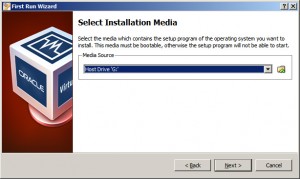
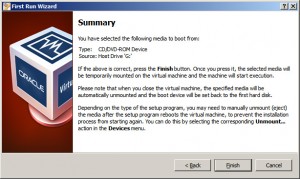
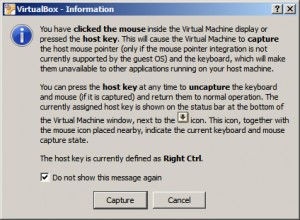
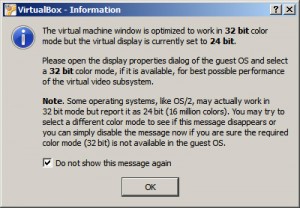
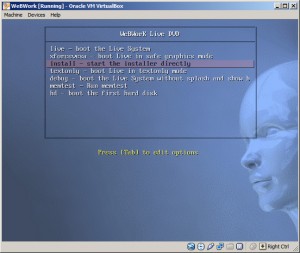
Select the WeBWork virtual machine and click the button that says Start. Then follow the prompts until you get to the WeBWork Live DVD menu. At this point, you should select Install, which will load the Ubuntu installer. These steps can all be seen in the following images. The installation of Ubuntu is covered next.
Installing Ubuntu
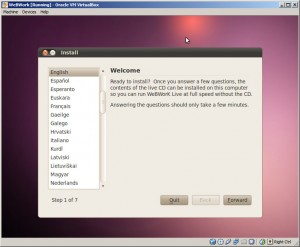
Once the Ubuntu installer loads, you will be presented with a series of steps. The instructions below are from the corresponding section of the WeBWork Wiki.
- On the first install panel hit
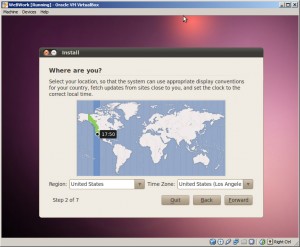
Forwardto proceed with English as the selected language- Select a city in your time zone and hit
Forward- Hit
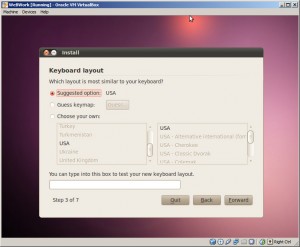
Forwardto accept the default keyboard layout- Next comes the
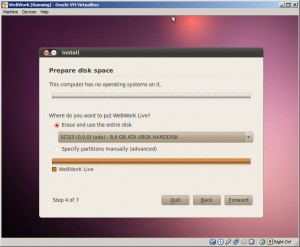
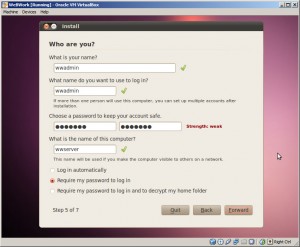
Partition diskspages. You should be able to accept the defaults unless you want separate partitions for various directories. You might want to look at the Partition disks section in Installation_Manual_for_2.4_on_Ubuntu_10.04 which gives more information on this- The next panel asks “Who are you?”. We will fill in this information but actually it will not be used. The real information is contained in the WeBWorK Live DVD. We will just repeat it here so you don’t get confused
- Enter
wwadminfor “What is your name?”- Enter
wwadminfor “What name do you want to use to log in?”- Enter
wwadmintwice for the password- Enter
wwserverfor the name of the computer- You can change all of these things after the installation takes place. Especially you should change the password
- Then hit
Forwardto continue- If the
Migrate Documents and Settingspage appears just hitForwardto continue without importing anything- Finally hit
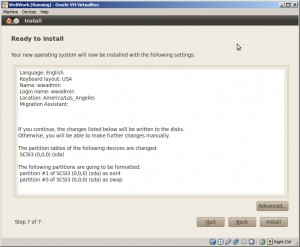
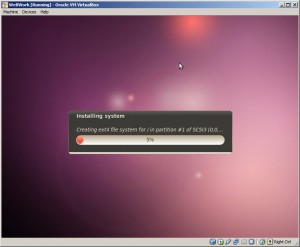
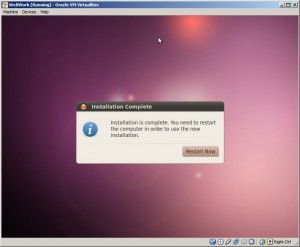
Forwardon the Ready to install page to begin the installation. TheAdvanced...button on this page gives you options on installing the boot loader but you almost certainly want to use the defaultsNow sit back and relax while the installation takes place. Some of the steps can take a long time. Please be patient. When you finally see “Installation complete” hit
Restart now.
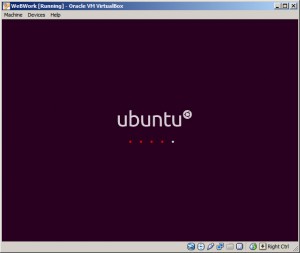
The images below are snapshots of the installation process on my computer. I followed the instructions on the WeBWork site.
After installing Ubuntu, possible next steps include logging into your Ubuntu system, changing passwords, updating your system’s software packages, and/or updating the set of National Problem Library (NPL) homework problems. These steps are not necessary and they will not be covered. They should be treated with higher priority if your WeBWork installation is not behind a firewall and/or is intended for non-private usage (e.g., installing WeBWork for use by students in a course).
Configuring Port Forwarding
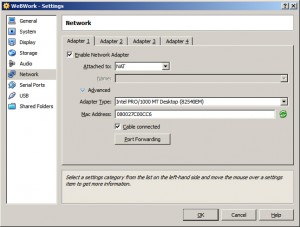
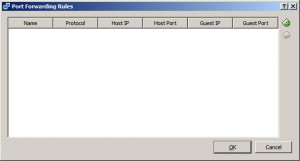
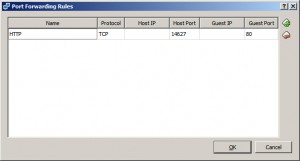
After installing Ubuntu, WeBWork is available by logging in to the system and directing your browser to WeBWork’s location on localhost. To do this, you would open up Firefox, and where you would ordinarily type a URL, such as http://
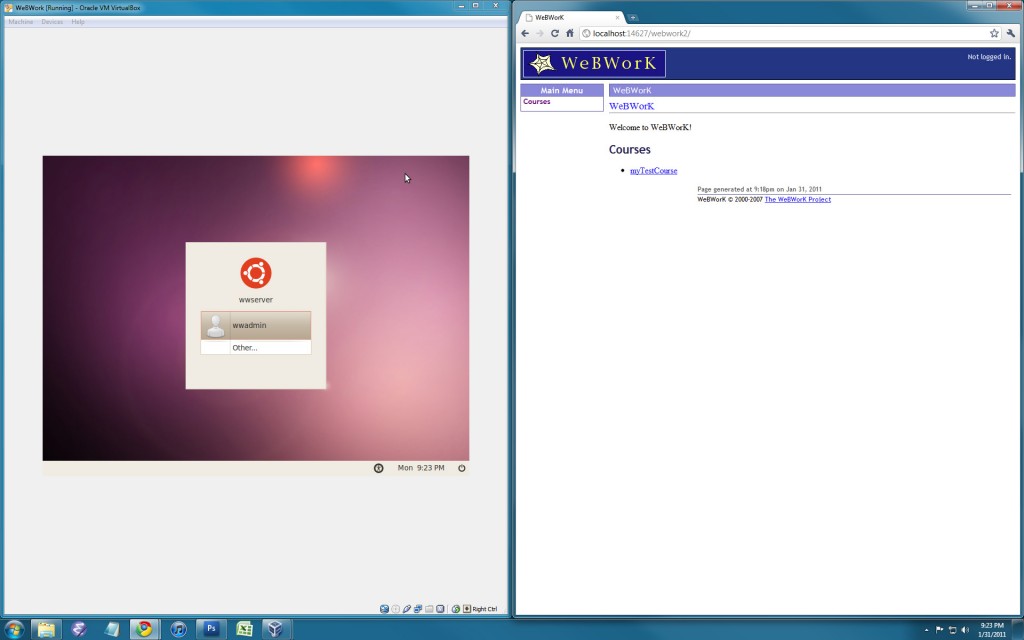
The image below shows both the running virtual machine and WeBWork loaded on my browser.
WeBWork is now installed and accessible. Part IV of this series will cover the configuration of WeBWork.
4 replies on “Installing Your Own Personal WeBWork Server, Part III”
Hi Daniel I am trying to install webwork on a webserver and there are no good tutorials on the internet to do that . Maybe we can get together to develop a tutorial. Send me an email and we can discuss.
Hi Madhav, the WeBWork Installation Wiki has some resources that I believe can help you get WeBWork set up on your web server. It sounds like you already have a web server that you would like to install WeBWork on, so my tutorial is probably not relevant.
Would this method be feasible for installing webwork to serve a course that students could access? Assume that Mac I am using is already running a web server.
Hi Tim, I believe that the WeBWork website might have a better guide for installing WeBWork on a server that others will access. My instructions were meant to cover installations for personal use, for one user.