Part I | Part II | Part III | Part IV
This series of posts covers the installation of WeBWork. This post, Part II of the series, has instructions for installing VirtualBox. Although I am using Windows 7, the instructions should apply to other operating systems that VirtualBox can be installed on.
Why Install VirtualBox?
WeBWork is designed to be installed alongside a web server on a Unix based computer. VirtualBox is a software program that allows you to install additional operating systems within the operating system you are currently running. Another option would be to install WeBWork on a separate computer that is dedicated to web hosting. While this option may be appealing to colleges, it did not seem practical for the purpose of installing my own personal version of WeBWork. Additionally, the option presented here has a lower cost, as VirtualBox is available for free. For additional details on VirtualBox, please check out its homepage and/or the corresponding Wikipedia page.
Installing VirtualBox
The following two steps describe how to install VirtualBox.
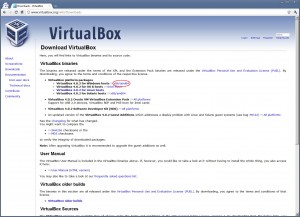
- Download your operating system’s version of VirtualBox from the VirtualBox downloads website. For example, if you are running Windows, you would click the link towards the top of the page, which I circled in red on the following image.
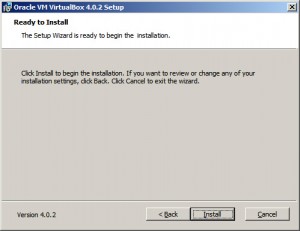
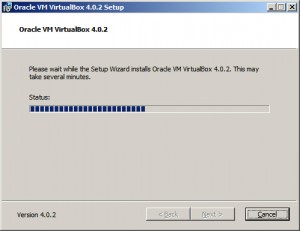
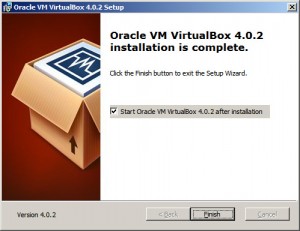
- After downloading the installer, you should go ahead and install VirtualBox on your computer. The images below show a progression of the installation steps, along with the settings that I selected. Please customize these settings according to your preferences.
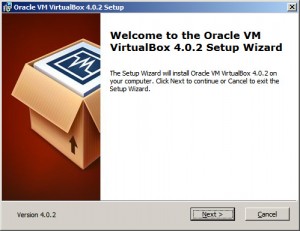
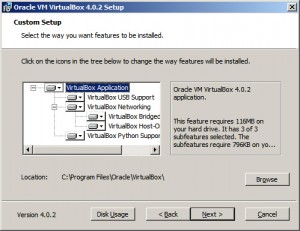
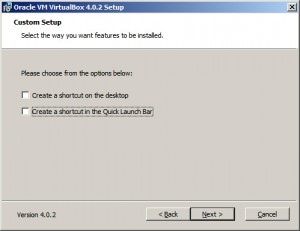
Now that you have VirtualBox installed, the next step is to install a virtual operating system with WeBWork. This will be covered in Part III of this series.